The No-Crease Makeup Checklist: A Simple Routine to Keep Base Makeup Smooth Over Fine Lines
Makeup can look flawless at first and still start settling into fine lines as skincare, sunscreen, foundation, and powder interact with natural oils and facial movement. A no-crease routine is less about “more product” and more about thin layers, smart placement, and the right set-and-fix steps. The guide below breaks the process into an easy checklist so makeup stays fresh-looking for longer—especially under the eyes, around the mouth, and across the forehead.
Why makeup settles into fine lines
- Too much product in high-movement areas (under eyes, smile lines, between brows) creates buildup that migrates and cracks.
- Dehydrated surface skin can pull moisture from base products, causing them to separate and gather in lines.
- Oily zones vs. dry zones: oil thins out foundation while dry patches grip pigment—both can exaggerate texture.
- Incorrect layering order (or incompatible formulas) can pill and shift.
- Over-powdering can make lines look deeper, while under-setting can leave makeup tacky and easy to crease.
Quick pre-check: match products to the day
- Humid days or long wear: choose long-wear foundation/concealer and a setting spray with film-formers for stronger hold.
- Dry or cold days: prioritize hydration, flexible base products, and minimal powder so the finish doesn’t look tight.
- Photos: consider a finely milled powder and test your SPF + base combo ahead of time (flash can be unforgiving).
- Mature skin or emphasized fine lines: luminous-to-natural finishes often look smoother than very matte layers.
Skin prep checklist (the most important anti-crease step)
- Cleanse gently; avoid over-stripping so skin doesn’t rebound with extra oil. For basic skin-supporting habits, see the American Academy of Dermatology Association’s skin care basics.
- Hydrate, then seal: apply a hydrating layer (essence/serum) and seal with a lightweight moisturizer; let it absorb fully.
- Sunscreen wait time matters: apply a thin, even layer and allow 10–15 minutes to set before makeup (helpful SPF guidance is on MedlinePlus).
- Spot-prep instead of over-applying: add a touch of moisturizer to tight zones (under eyes, around mouth) rather than coating the whole face.
- Blot excess slip (especially around nose and smile lines) before primer to prevent sliding.
If dryness is a frequent issue, addressing it can make every base product behave better; the Cleveland Clinic’s overview of dry skin is a useful reference.
Primer and base strategy: thin layers win
- Pick primer by the real problem: smoothing for texture, gripping for longevity, hydrating for dryness. Avoid stacking multiple primer types in the same spot.
- Use less foundation than expected; build only where needed. A sheer base creases less than a thick one.
- Press, don’t rub: pressing motions help base meld with skincare instead of sitting on top.
- Don’t fill expression lines with product: keep base away from the deepest part of the fold; blend around it.
- Micro-wait between layers: let each step set for 30–60 seconds before the next.
Under-eye and smile-line techniques that reduce settling
- Under eyes: place a small amount of concealer only where discoloration is strongest, not across the entire under-eye area.
- Warm the concealer first: a thinned, flexible layer (warmed between fingers or on a palette) moves better with the skin.
- Pause and perfect: after blending, wait 20–30 seconds, then lightly smooth any creasing with a clean fingertip or sponge edge before setting.
- Smile lines: keep foundation thin; add coverage only at the outer edges of the line, not directly inside it.
- Choose flexible formulas: very matte formulas can emphasize folds once you start talking, smiling, and eating.
Creasing troubleshoot table: common zones and quick fixes
| Area |
What usually causes creasing |
Best quick fix |
Prevention step next time |
| Under eyes |
Too much concealer/powder; dryness |
Tap out crease, re-set with a tiny amount of powder |
Hydrate + use less concealer, set only where needed |
| Smile lines |
Thick foundation; product pooling |
Press with sponge, add a touch of setting spray |
Use thinner base; avoid packing product into the fold |
| Forehead lines |
Heavy matte foundation; over-powdering |
Lightly mist and press with sponge |
Use flexible base and minimal powder on lines |
| Nose/nostrils |
Oil + friction; incompatible layers |
Blot, add a small amount of long-wear concealer, re-set |
Use gripping primer and let sunscreen set longer |
| Chin |
Touching face; thick layers |
Press down texture, reapply thin layer where needed |
Use thinner base and set with targeted powder |
Setting: powder placement matters more than powder amount
Finishing spray and longevity tricks
Common mistakes that quietly cause creasing
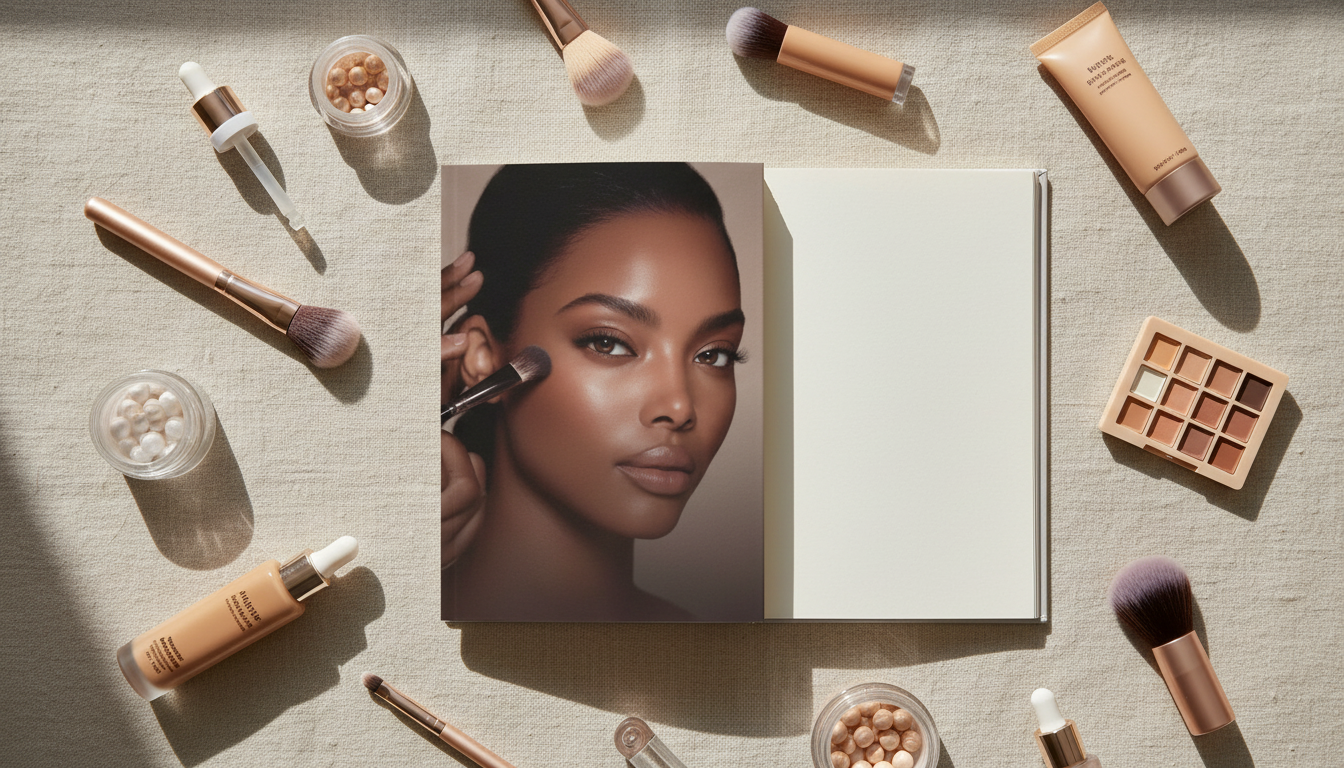
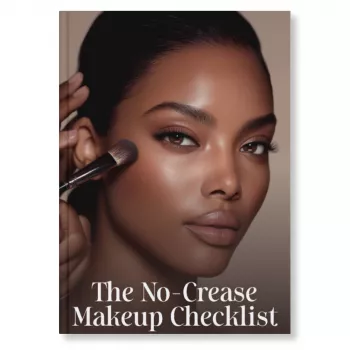
The No-Crease Makeup Checklist (digital guide): what it helps simplify
Keep it handy here: The No-Crease Makeup Checklist (digital guide).
Simple add-ons that make the routine easier to maintain
A compact option for everyday carry: Blue Vintage Floral Makeup & Travel Clutch Bag.
FAQ
Why does concealer crease even when it looks smooth at first?
It often happens when concealer is applied too thickly, the under-eye area is dehydrated, or the layers haven’t had time to set before powder or spray. Tap out the crease with a clean fingertip or sponge edge, then re-set with a tiny amount of finely milled powder only where it folds.
Should powder be used under the eyes to prevent settling into fine lines?
Powder can help, but spot-setting with a very small amount is usually more flattering than heavy “baking.” If your under-eyes run dry, use minimal powder (or skip it) and rely more on a light setting spray to keep the finish flexible.
How can makeup be touched up without making fine lines look worse?
Blot oil first, then gently press and smooth creases with a clean tool before adding any product. Reapply only where coverage truly broke up, and avoid stacking powder over oil; a light mist of setting spray pressed in with a sponge can refresh without buildup.
Recommended for you










Leave a comment