At-home facial massage can turn a few quiet minutes into a calming routine that helps the face look more refreshed and feel less tense. With the right slip, gentle pressure, and a consistent sequence, it’s easy to build a glow-enhancing practice that fits morning de-puffing or an evening wind-down.
Facial massage isn’t about “forcing” results—it’s about consistency and comfort. If you’re curious about overall skin-care fundamentals (like protecting the skin barrier), the American Academy of Dermatology Association is a solid reference point.
If you like keeping everything in one place, a dedicated pouch can make it easier to start and finish without hunting for supplies. The Blue Vintage Floral Makeup & Travel Clutch Bag is a simple way to store your slip product, a hair clip, and a soft towel.
Many facial-massage techniques borrow from gentle drainage-style movements (light, directional strokes rather than deep pressure). For a helpful overview of lymphatic drainage principles, see the Cleveland Clinic’s explanation.
Rub palms together to create warmth, then press hands gently over cheeks and forehead for 10–15 seconds. Think “calm contact,” not rubbing.
With flat fingers, sweep from collarbone up the sides of the neck toward the jaw. Avoid pressing directly on the front of the throat. Keep strokes long and light.
Place knuckles or fingertips at the center of the chin and glide along the jawline toward the ears. Pause at the hinge of the jaw (just in front of the ear) and make small circles.
Sweep from the sides of the nose across the cheekbones toward the temples. Keep the movement outward and slightly upward, as if you’re “smoothing” the face into place.
Use ring fingers. Glide from inner corner to outer corner with extremely light pressure, then press gently at the temples. If your under-eye area is sensitive, reduce the number of repeats and keep the touch whisper-soft.
Sweep from the center of the forehead outward. Then pinch-roll lightly along the brow line (avoid the eyelid). This can feel especially good after concentrating or squinting.
Do small, slow circles at the temples for 20–30 seconds while breathing slowly. Let your shoulders drop away from your ears.
Finish with long, gentle outward strokes from the center of the face toward the ears, then down the sides of the neck to the collarbone. This helps the routine feel complete and un-rushed.
| When | Time | Focus | Best techniques |
|---|---|---|---|
| Morning reset | 3–5 min | De-puff + wake up the face | Neck sweeps, cheek lifts, under-eye feather strokes, temple circles |
| Midday break | 2–3 min | Release tension | Jaw circles, brow smoothing, slow temple circles |
| Evening wind-down | 8–12 min | Relaxation + glow | Full sequence, slower pace, longer finishing sweeps |
If scent helps signal “wind-down time,” the Cute Geometric Scented Candle – English Pear & Freesia pairs nicely with a slower, evening-paced massage.
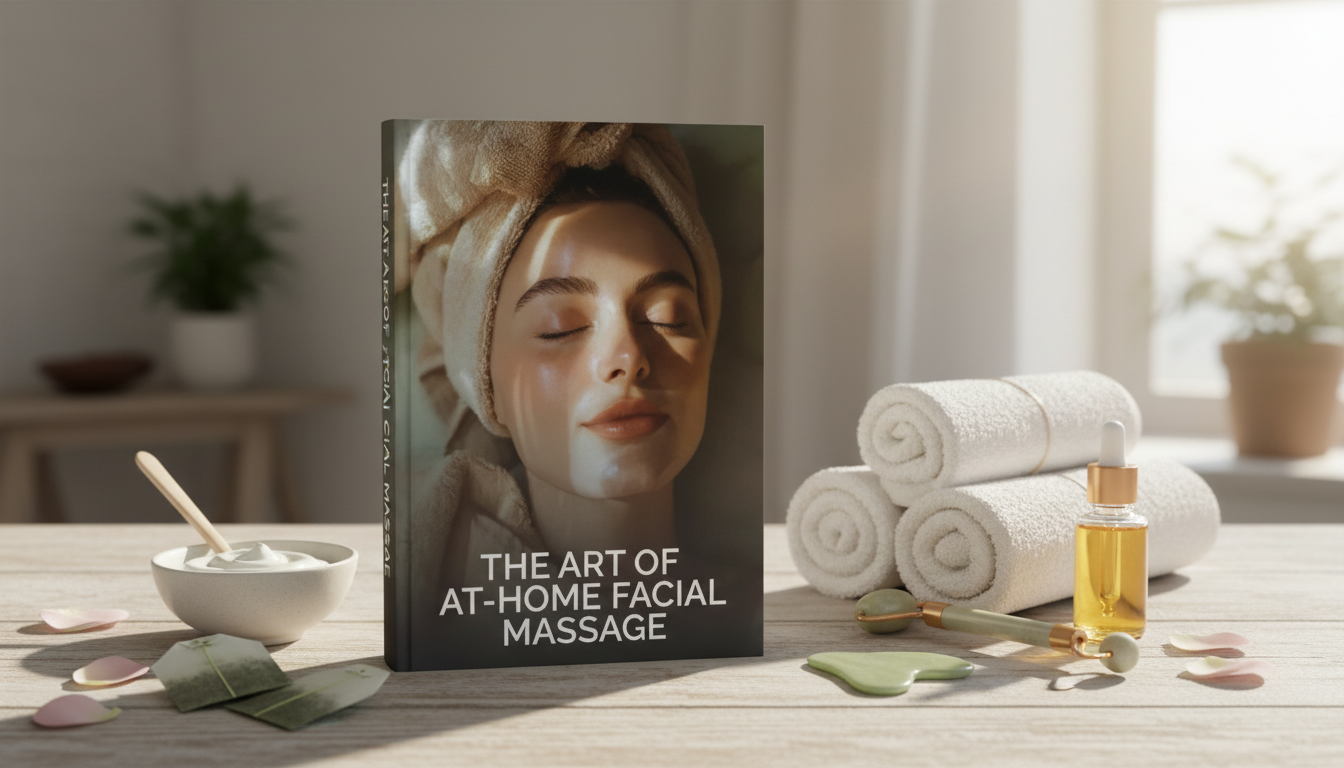
For a simple, repeatable flow you can revisit anytime, explore The Art of At-Home Facial Massage | Step-by-Step Guide to Facial Massage at Home | Digital Self-Care & Glow-Enhancing Routine eBook.
Most people do well with 3–5 times per week, or daily if skin stays comfortable and calm. Keep pressure gentle, and scale back if you notice sensitivity, redness, or lingering tenderness.
Try a light moisturizer, gel-cream, or a small amount of balm—anything that prevents tugging. Patch test if you’re sensitive, and consider avoiding heavily fragranced products if your skin reacts easily.
Gentle outward strokes, light neck sweeps, and feather-soft under-eye work can help the face look less puffy for many people. Results vary, but consistent technique and a light touch tend to look more natural than aggressive pressure.












Leave a comment