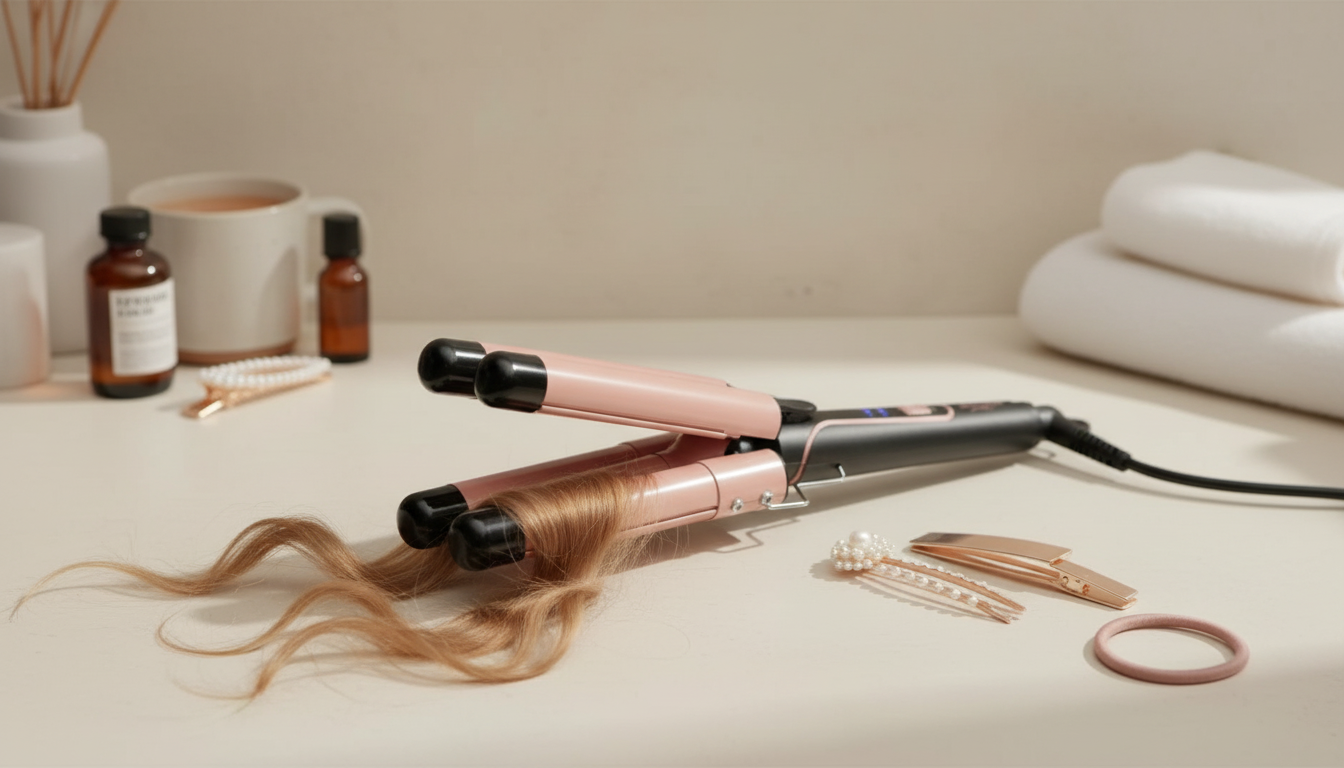
A multi-attachment waver set can replace several hot tools by creating beachy waves, defined S-waves, and crimped texture with quick heat-up and simple switching. With the right barrel choice, sectioning, and cooling time, you can get a consistent pattern that lasts longer with less frizz—without spending all morning on repeat passes. For more guidance, see 8 Best Curling Irons, Tested by Our Experts – Consumer Reports.
If you’re shopping for an all-in-one styling upgrade, start with the 5-in-1 Waver Curling Iron Set with 3-Barrel Hair Crimper & Fast Heat Technology for quick wave patterns plus interchangeable options for looser or tighter definition. For further reading, see BaByliss Pro Nano Titanium Curling Iron.
The main advantage of a 5-in-1 set is flexibility: you can switch between wave and curl looks without buying separate tools or trying to force one barrel to do everything. The 3-barrel waver/crimper creates fast, uniform patterning along the length, while the interchangeable barrels let you change wave size and curl definition for different haircuts, densities, and occasions.
Fast heat technology helps shorten styling sessions, but results still depend on using the right section size and clamp time. When hair is evenly sectioned and fully dry, you can often get the shape in fewer passes, which is the goal for both shine and comfort.
| Attachment | Best for | Finish | Quick tip |
|---|---|---|---|
| 3-barrel waver/crimper | Beach waves, mermaid waves, quick texture | Defined, consistent pattern | Clamp, hold briefly, then move down in even sections |
| Larger barrel option | Loose waves, soft bends | Relaxed, airy volume | Wrap larger sections and leave ends slightly straighter for a modern look |
| Smaller barrel option | Tighter curls, more hold | Bouncy, more defined curl | Use smaller sections and let curls cool before brushing out |
| Mixed styling approach | Natural-looking dimension | Varied wave pattern | Alternate attachments (or section techniques) between layers |
This type of set is designed to be adaptable, but the best outcomes come from matching heat and section size to your hair type.
For smoother styling and fewer snags, detangling matters more than most people expect—especially before you clamp. The Hair Detangling Checklist | How to Detangle Hair Without Causing Damage is a quick reference for prep that helps reduce breakage and uneven creases.
Optional upgrade for easier touch-ups: keep a small bag in your vanity or travel kit so attachments and clips stay together. The Blue Vintage Floral Makeup & Travel Clutch Bag works well for storing styling extras once your tools are fully cooled.
Quick heat-up is convenient, but technique is what protects hair. Heat damage is usually a combination of too much temperature, too much time, and too many passes—especially on hair that’s already dry or color-treated. The Cleveland Clinic emphasizes limiting heat exposure and using protectants as part of a safer routine.
Wavers typically create smoother, larger S-waves, while crimpers create a tighter zig-zag texture. Many 3-barrel tools can sit between the two looks depending on barrel size and how long you clamp each section.
Yes—use smaller sections and focus on the crown and face-framing pieces while keeping the tool slightly away from the scalp. Leaving the ends a bit straighter can help avoid a “triangle” shape and keep the finish modern.
Start with heat protectant and a light hold prep product, then wave in even sections with consistent clamp time. Let everything cool completely before touching it much, and finish with texture spray while keeping brushing to a minimum.









Leave a comment